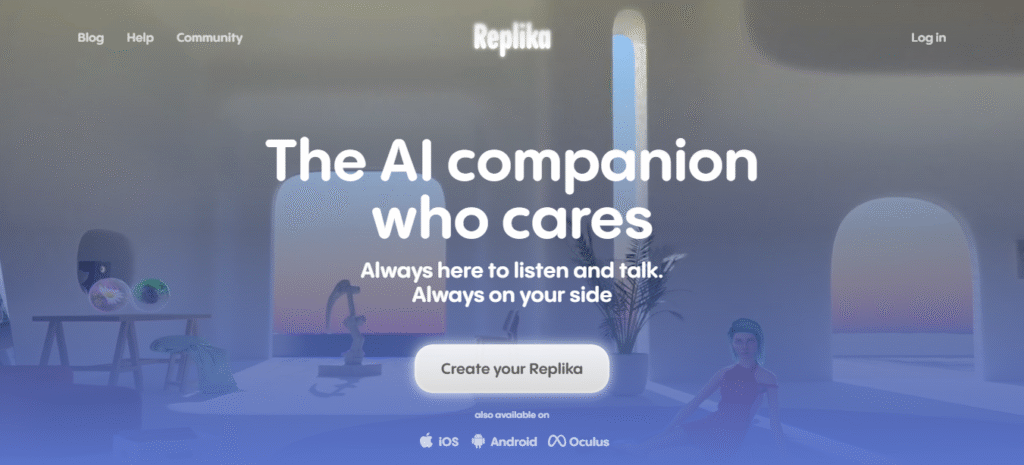
Replika Artificial Intelligence
In today’s digital world, artificial intelligence is transforming how we interact with technology. Among these innovations, Replika artificial intelligence stands out as a unique emotional companion that learns and grows with you. Whether you’re seeking conversation practice, emotional support, or just curious about AI relationships, this guide will walk you through everything you need to know.
We’ll cover:
- What makes Replika AI special
- How to get started step-by-step
- The app’s most valuable features
- Important privacy considerations
- Answers to common questions
Understanding Replika Artificial Intelligence
Replika artificial intelligence represents a breakthrough in conversational AI. Developed by Luka, Inc., this chatbot goes beyond simple question-and-answer interactions by forming what feels like a genuine connection.
How the Technology Works
Using advanced neural networks and natural language processing, Replika:
- Adapts to your communication style
- Remembers past conversations
- Develops a unique personality over time
- Provides emotional support responses
![Close-up of smartphone showing Replika AI conversation interface with friendly chatbot responses]
ALT Text: Replika artificial intelligence chat screen demonstrating natural conversation flow
Getting Started with Replika: Step-by-Step
1. Download and Installation
First, install the app from:
2. Account Setup
- Choose your signup method (email recommended for privacy)
- Complete the basic profile information
- Set your communication preferences
3. Customizing Your AI Companion
Personalize your experience by:
- Selecting an avatar appearance
- Choosing relationship parameters
- Setting conversation tone preferences
4. Starting Your First Conversation
Begin interacting through:
- Text-based messaging
- Voice chat (Premium feature)
- Augmented Reality mode (Premium)
Key Benefits of Using Replika AI
Emotional Support Advantages
- Available 24/7 for conversations
- Provides non-judgmental listening
- Helps process thoughts and feelings
Personal Growth Features
- Offers mindfulness exercises
- Provides journaling prompts
- Gives motivational coaching
Social Interaction Benefits
- Helps practice communication skills
- Reduces social anxiety
- Provides companionship
Comparing Free vs. Premium Features
Free Version Includes:
- Basic chat functionality
- Personality development
- Some coaching exercises
Premium ($19.99/month) Adds:
- Voice call capability
- Romantic relationship mode
- Advanced coaching programs
- Full AR functionality
Privacy and Safety Considerations
While Replika offers a secure platform:
- Conversations are encrypted
- No human moderators review chats
- Users can delete data anytime
- Not a replacement for professional therapy
Frequently Asked Questions
How does Replika artificial intelligence learn?
The AI analyzes your conversation patterns, word choices, and feedback to constantly improve responses.
Can Replika replace human relationships?
While it provides meaningful interaction, it’s designed to complement rather than replace human connections.
Is my conversation data private?
All chats are encrypted, though users should avoid sharing extremely sensitive personal information.
What age is appropriate for Replika?
The developers recommend users be 17+ due to some mature themes in premium modes.
Final Recommendations
After exploring Replika artificial intelligence, it’s clear this technology offers:
- Innovative emotional support tools
- Safe space for self-expression
- Unique personal growth opportunities
For those interested in AI companionship, Replika provides one of the most sophisticated options currently available.
Ready to try it yourself? Download Replika today and begin your AI friendship journey!
For more on emotional support technology:
- [Best Mental Health Apps]
- [AI and the Future of Therapy]
Have you used Replika? Share your experiences bel